How to Clean New Ear Piercings and Change Your Jewelry For the First Time
Congratulations! Getting your ears pierced is a special milestone. Regardless of when you have your ears pierced, it is exciting to know that you will soon be able to wear earrings that complement your sense of style!
The most important part of ear piercing is actually the ear piercing aftercare, which happens in the first several weeks following the piercing. Good piercing aftercare and high-quality aftercare products will help you avoid infection and help your ear piercing heal more quickly.
Continue reading to learn how to care for your newly pierced ears, the “do’s and don’ts” of proper earlobe piercing aftercare, and some tips and tricks to follow for changing your earrings for the first time!

What is ear piercing aftercare? When does it start?
Ear piercing aftercare begins the same day as the piercing and should be performed 2-3 times per day. You'll continue this regimen for several weeks-to-months. This timeline is different depending on where in the ear you get pierced; your nurse will give you the specific timeline appropriate for your piercing. Getting into an aftercare routine early on is a good idea, so caring for your ear piercing is incorporated into your everyday routine. For example, clean your ear piercings when you brush your teeth in the morning and the evening. This is one way to remember to do it!
How do I clean my piercing?
The most important aspect of caring for your ears is good hand hygiene. Always wash your hands thoroughly before touching your earrings. While it may be tempting to touch your new earrings (they are beautiful), it is important to avoid playing with them. You should only touch your new earrings when you are cleaning your ears.
You will need to spray the piercing site 2-3 times a day with your Rowan Advanced Aftercare & Cleanser. To clean your piercing, spray the pierced area directly and ensure the piercing site is soaked properly, and allow it to air dry. We do not recommend using hydrogen peroxide, rubbing alcohol, or antibiotic ointment on the skin. While performing ear piercing aftercare, make sure to pull back your hair so it does not get caught in the earring!
Always leave a space between the back of the ear and the earring back. If wearing a butterfly back, do not push earring backs close to the back of the earlobe, as the piercing needs plenty of room to breathe and heal. For many starter earrings, the earring back will click into a notch towards the end of the post and should remain at this location.
Lastly, avoid letting regular soap, shampoo, conditioner, or hair products sit or remain in the ear piercing site. After your piercing comes into contact with soap or other products (which will happen when you wash your face or shower), the piercing site should be thoroughly rinsed. You may opt to perform one of your daily cleanings after you shower to ensure the piercing site is clean.

How long do ear piercings take to heal?
It takes a year for a piercing to heal entirely, and removing the starter earrings too early may cause the earring hole to close. Your nurse will tell you at what point it will be safe to change your earring. Once you’ve reached the point when you can change your earrings, continue wearing lightweight hypoallergenic earrings, including to sleep, bathe, and play sports, until the ears have healed completely.
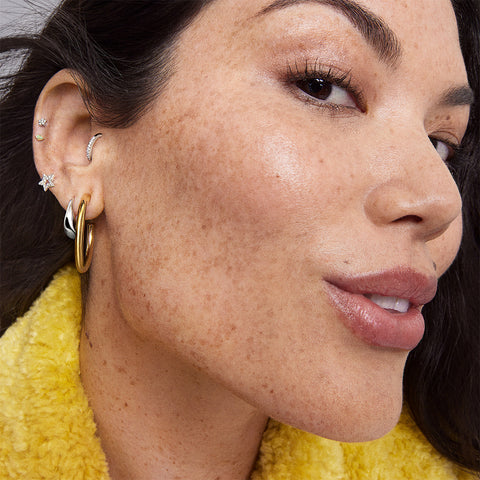
We love our endless hoops for 24/7 wear, they’re so comfortable! If you are physically active or playing sports, it is recommended to wear small sports studs instead of hoops or dangly earrings, which can get caught or tangled.
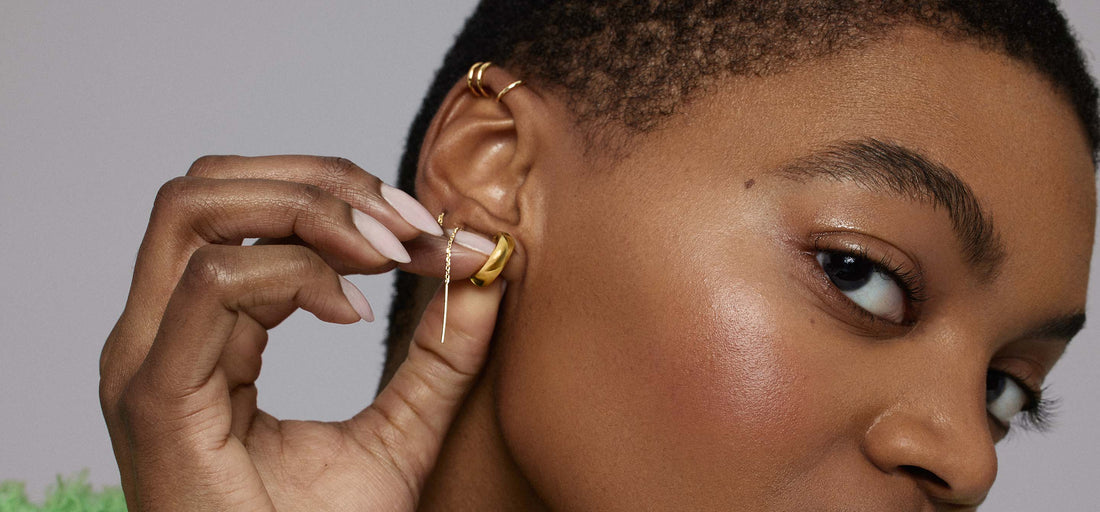
How do I change my earrings for the first time?
The first step in changing your earrings is to start with clean, sanitized hands. This will help prevent infection and ensure that your ears stay healthy. Next, you need to sanitize the hypoallergenic earrings you will be changing into with rubbing alcohol. Make sure the alcohol has completely dried off of the earring before attempting to place the earring in your ear.
Now you’re ready to remove your current earrings. Removal will be nuanced depending on what kind of earring you started with, but not to worry! Here are tips that will make you a pro in no time:
General Tips
Be Prepared to Go Fast
Your body is working hard to heal your piercing, which means that even a minute without an earring in your new piercing can cause the hole to begin to close. Focus on one ear at a time - removing and replacing earrings on one side, then the other.
If you are having pain when attempting to place a new earring in your piercing, stop and do not force the earring through! Not only will forcing the earring through worsen your pain, but it can cause trauma to your ear. It’s better to re-pierce the hole than to force a blunt earring through a partially closed piercing.
If you can feel a small amount of resistance and no pain, lubricating your ear and the jewelry with your aftercare solution can help the earring go into place smoothly.
Bleeding
You might see a small amount of bleeding when you remove your earrings for the first time. Don’t worry, though! A piercing is a wound that heals from the outside-in, and the healing process takes approximately a year. Use your aftercare to remove any blood from your skin once you have placed your new earrings in the piercing.
Guides for Each Earring Type
Bell-Back Earrings
What you put in your ears is just as important as when you change your earrings. Stick with only hypoallergenic and nickel-free earrings, and avoid wearing heavy jewelry in the piercing for one year. Changing earrings is a quick and easy way to express your individuality, and with a little practice, you’ll be a pro in no time!